

If seed starting has ever made you feel wildly confident on Day 1 and mildly betrayed by Day 14, you're not alone. We kill a lot of stuff over here.
The trick is to pause before you start. Most beginners fail because they dive in without ample information, and those pesky little seed packets don’t offer much by way of education. Armed with a few specific details, you’ll do much, much better.
timing and temperature
One of the biggest reasons seeds fail is surprisingly simple: We start at the wrong time and the wrong temperature. Seed packets should make this easy, but they often don't give you enough information to be successful, especially if you're trying to do things indoors with intention.
Here's the secret that makes everything less mysterious: Seeds have preferred germination temperatures and timelines. If you know those two things, you can stop guessing and start dialing in your plan.
For example:
Snapdragons: germinate in 7–14 days at 70–75 degrees.
Delphinium: can take up to 20 days at 55–65 degrees.
Those details change everything, especially how you use a heat mat.
I like to start my spring seed trays around Valentine's Day. In the years I get overly eager and start earlier, I regret it. (Ask me how I know.)
You must resist the urge to start the heat lovers too soon. Sunflowers, zinnias, and celosia do not care that you are emotionally ready for summer. They want warm soil and warm days. Let them wait. Get your chilly friends going instead: snapdragons, strawflower, orlaya, ammi, dill, bachelor buttons, etc.
How do you find germination temperatures?
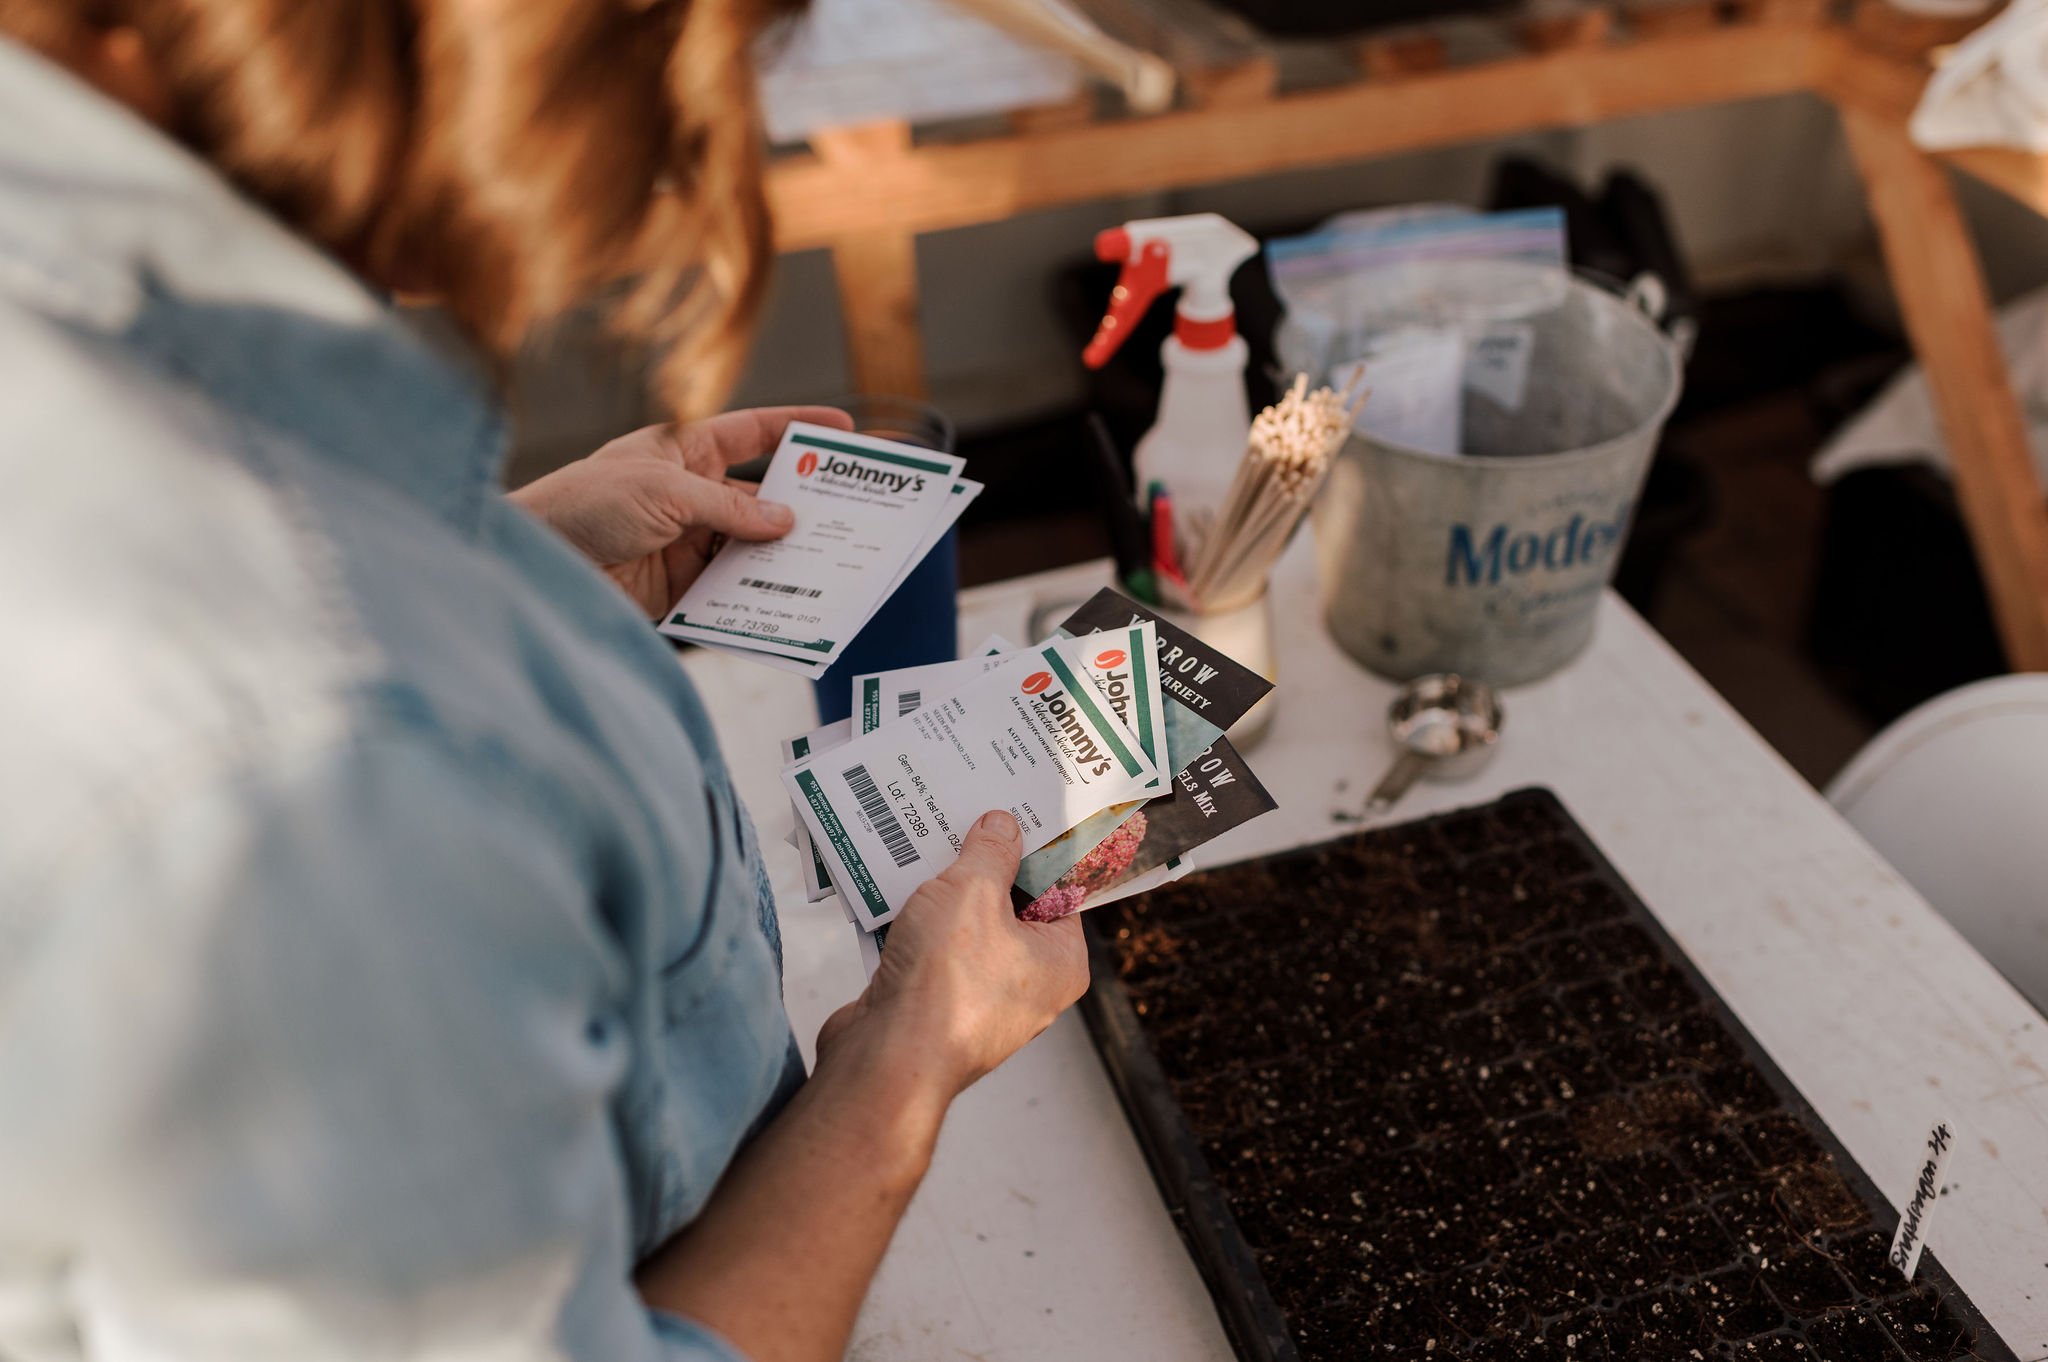
You can absolutely Google it. But the better shortcut is Johnny's Selected Seeds, because they maintain a robust information library for flowers and produce. I also appreciate The Gardener’s Workshop.
Gather your gear
Once you know what you’re going to seed, you need the proper materials. You do not need a laboratory, and you don’t need to buy anything fancy. Here's my basic setup:
Heat mat plus digital thermostat (as a set). A heat mat without a thermostat is like an oven with no dial. The thermostat is what gives you control so you can set the mat at the temperature your seeds want.
Planting trays with humidity domes. The dome helps hold steady moisture while seeds germinate. Think of this as your own teeny, tiny greenhouse.
Full-spectrum grow light. A bright window is lovely, but it's not enough to prevent flimsy, sad seedlings.
Seeds you actually have room to grow. (The fun part.)
Give them light right away
After temperature, the biggest beginner mistake is usually light. Once seedlings emerge, they need bright light immediately. Put the grow light close enough that the plants stay compact rather than stretching toward it. Tall, floppy seedlings are not enthusiastic; they are begging for more light.
Harden them off
Before seedlings go outside permanently, harden them off. That simply means gradually introducing them to wind, direct sun, and outdoor temperature swings over several days. A seedling raised under perfect indoor conditions can get shocked quickly if it goes straight from your laundry room out into the real world.
Work backward from planting day
This is one of the most challenging things about growing flowers: So much of what looks natural and spontaneous is actually the result of planning months earlier.
Fall planting spring flowers means working backward from our October planting date to determine when each variety needs to be seeded. The farm is always living in more than one season at a time.
Seed starting rewards consistency more than perfection. Keep your soil evenly moist, give seedlings strong light, pay attention to temperature, and don't panic when everything doesn't arrive on schedule. Plants are living things delivered by Mother Nature, not Amazon Prime.
Know what to plant when
Our Seasonal Planting Schedule and Flower Garden Planner are printable PDFs with helpful details for plotting your garden and planting 20 of our favorite cut flowers, including when to seed indoors, direct sow, and transplant.
Related notes


How to pick a bouquet that won't die tomorrow, and how to keep it happy once it's home.